instructions for the chevrolet chevelle ss 1966 amt model pdf
Welcome to the official guide for the Chevrolet Chevelle SS 1966 AMT model. This classic model captures the essence of the iconic 1966 Chevelle SS, offering a detailed and authentic building experience. Perfect for hobbyists and car enthusiasts, this scale model brings the legendary vehicle to life. Follow this guide to ensure a successful and enjoyable assembly process.
1.1 Overview of the Chevrolet Chevelle SS 1966
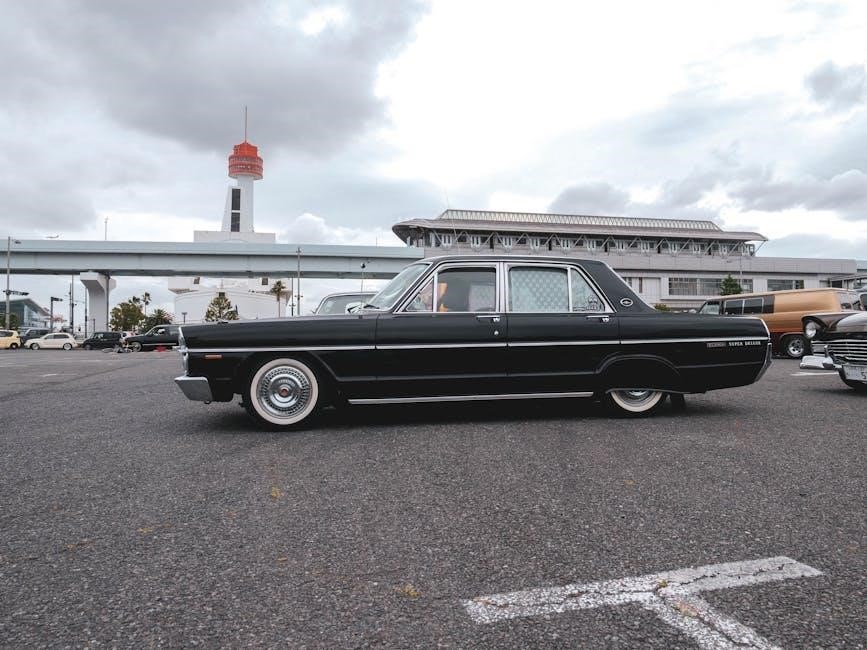
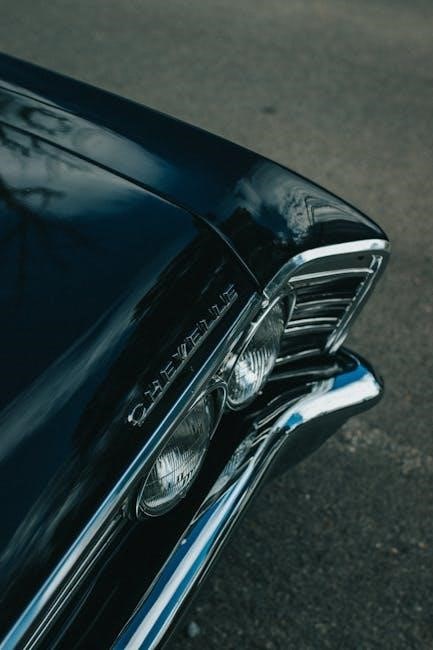
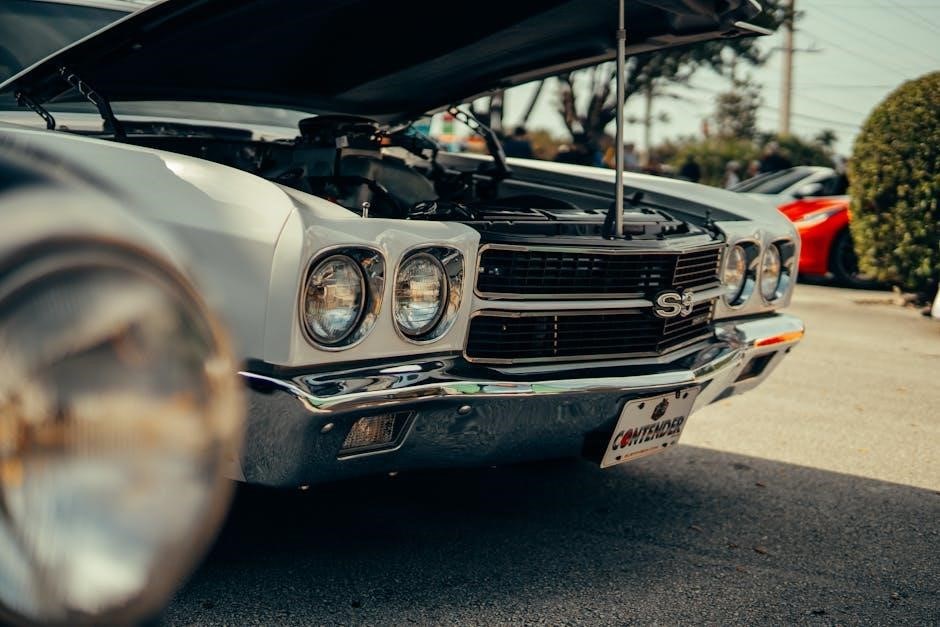
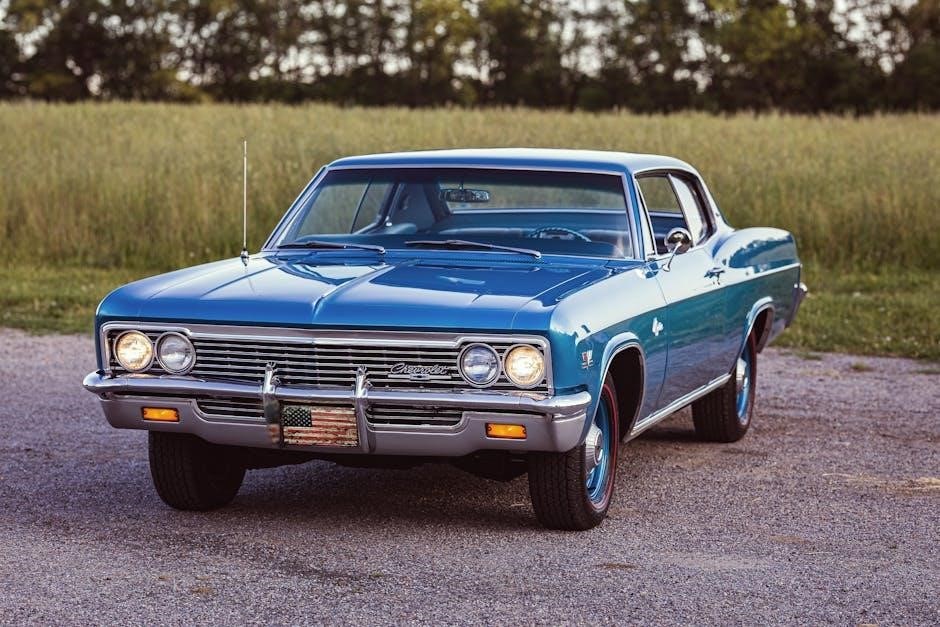
The Chevrolet Chevelle SS 1966 is a legendary American muscle car that defined the era of high-performance vehicles. Introduced in 1964, the Chevelle quickly gained popularity for its powerful engines and sleek design. The 1966 model featured a bold new grille, fastback body style, and an aggressive stance, making it a standout in its class. With options like the 396 cubic-inch V8 engine producing up to 360 horsepower, the Chevelle SS became a symbol of American automotive excellence. Its combination of style, power, and affordability made it a favorite among car enthusiasts and collectors, cementing its legacy as a classic muscle car.
1.2 Importance of the AMT Model Kit
The AMT model kit is a valuable tool for enthusiasts and hobbyists, offering a detailed and accurate representation of the Chevrolet Chevelle SS 1966. It provides a hands-on experience, allowing builders to understand the car’s design and engineering. The kit preserves the legacy of this iconic vehicle, making it accessible to new generations. For modelers, it serves as a learning platform to refine skills in assembly, painting, and customization. Additionally, the AMT kit fosters a sense of community among model enthusiasts, encouraging creativity and precision. Its historical significance and educational value make it a must-have for any car or modeling enthusiast.
1.3 Purpose of the Instruction Guide
This guide is designed to provide a comprehensive and user-friendly resource for assembling the Chevrolet Chevelle SS 1966 AMT model. It offers step-by-step instructions, ensuring a smooth and enjoyable building experience; The guide helps beginners understand the process while offering valuable tips for experienced modelers. It covers troubleshooting, customization, and detailing techniques to enhance the model’s authenticity and appeal. By following this guide, builders can achieve a professional-quality finish and gain a deeper appreciation for the iconic Chevelle SS. Its purpose is to empower modelers with the knowledge and confidence to create a stunning and accurate replica.
Understanding the AMT Model Kit Instructions
This section provides an overview of the AMT model kit instructions, detailing the structure, key components, and essential steps for a successful assembly process. Clear diagrams and symbols guide builders through each phase, ensuring accuracy and ease. Whether you’re a beginner or an experienced modeler, understanding these instructions is crucial for achieving a professional-quality finish. This guide helps you navigate the assembly process with confidence and precision.
2.1 Structure of the Instruction Manual
The AMT model kit instructions are organized into clear, logical sections, ensuring a smooth assembly process. The manual begins with an introduction, followed by a detailed parts list and tools required. Each assembly step is visually guided with diagrams and written descriptions, making it easy to follow. The manual also includes sections on painting, decals, and customization options. Troubleshooting tips are provided to address common issues. The structure is designed to cater to both beginners and experienced modelers, ensuring a successful and enjoyable building experience. This clear organization helps builders stay on track and achieve a professional-quality finish.
2.2 Key Symbols and Abbreviations Used
The instruction manual uses specific symbols and abbreviations to guide builders through the assembly process. Common symbols include a glue bottle for adhesive application, a paintbrush for painting, and a screwdriver for assembly steps. Abbreviations like PN (part number), LOC (location), and QTY (quantity) are frequently used. These symbols and abbreviations are consistently applied throughout the manual to ensure clarity. A key or legend is often provided at the beginning of the manual to explain these symbols, helping builders understand the instructions quickly and accurately. This system ensures a smooth and efficient assembly experience.
2.3 Tools and Materials Required
To successfully assemble the Chevrolet Chevelle SS 1966 AMT model, you’ll need specific tools and materials. Essential tools include a hobby knife, sandpaper, clippers for removing parts from sprues, and a screwdriver for small adjustments. Additional items like files, paintbrushes, and plastic glue are also necessary. For painting, you’ll need acrylic paints, primer, and clear coat. Optional tools include a work lamp for better visibility and tweezers for handling small parts. Ensure you have a clean workspace and refer to the manual for specific materials needed for each step. Organize your tools and materials beforehand to streamline the assembly process.
Preparing for Assembly
Preparing for assembly ensures a smooth and enjoyable building experience. Start by carefully unboxing and inventorying all parts, followed by cleaning and preparing them for assembly.
3.1 Unboxing and Inventory of Parts
Begin by carefully opening the AMT model kit box to avoid damaging any components. Inside, you’ll find a variety of pre-molded plastic parts, chrome details, and decals. Locate the instruction manual and use it to identify and cross-reference each part. Organize the parts by category or assembly step to streamline the process. Check for any missing or damaged items and contact the manufacturer if issues arise. Use the provided inventory list to ensure all components are accounted for; This step is crucial for a smooth assembly experience, as missing parts can delay progress. Take your time to sort and prepare everything neatly.
3.2 Cleaning and Preparing the Parts
Before assembly, carefully remove each part from the sprue using a hobby knife or sprue cutters. Gently sand rough edges to ensure smooth fitment. Use a soft brush or cloth to wipe away any plastic residue or dust. For smaller parts, consider soaking them in warm soapy water to remove mold release agents. Rinse thoroughly and allow to dry completely. Inspect each component for mold lines or burrs, and lightly sand as needed. This step ensures a clean, precise assembly and prevents issues during painting or gluing. Proper preparation now will enhance the overall quality of your finished model.
3.3 Understanding the Assembly Sequence
Understanding the assembly sequence is crucial for a successful build. Start by reviewing the instruction manual to familiarize yourself with the order of construction. Typically, assembly begins with the chassis, followed by the engine and drivetrain. Next, focus on the body panels and frame alignment. Interior components, such as the dashboard and seats, are usually installed after the body is assembled. Wheels and tires are added toward the end, along with final details. Following the sequence ensures proper fitment and minimizes the risk of errors. Refer to the manual for specific step-by-step guidance and use reference images to confirm accuracy during assembly.
Assembly Steps
The assembly process involves constructing the chassis, installing the engine and transmission, aligning the body and frame, and assembling the interior and exterior components. Follow the sequence carefully to ensure proper fitment and accuracy, starting with the foundation and progressing to final details like wheels and trim. Each step builds on the previous one, requiring patience and attention to detail to achieve a polished and authentic model.
4.1 Chassis Assembly
Begin by carefully identifying and preparing the chassis components, including the frame, suspension, and axle parts. Use the provided instructions to ensure proper alignment and fitment. Start by attaching the front and rear axles to the frame, followed by the suspension components. Make sure all parts are securely glued and aligned according to the manual. Next, install the steering mechanism and brake details. Use a hobby knife or sanding tool to remove any excess plastic or burrs. Allow the glue to dry completely before proceeding to ensure a sturdy foundation for the model. Refer to the diagrams for accurate placement and orientation of each part.
4.2 Engine and Transmission Installation
Start by identifying the engine and transmission components from the parts list. Carefully remove any excess plastic from the engine block and transmission using a hobby knife. Align the transmission with the engine, ensuring proper fitment, and secure it with plastic cement. Next, attach the intake manifold and carburetor to the engine, following the diagram for accurate placement. Install the distributor and spark plug wires, making sure they are routed correctly. Finally, mount the completed engine and transmission assembly onto the chassis, ensuring it is securely glued and properly aligned. Refer to the manual for specific part numbers and details to ensure accuracy.
4.3 Body and Frame Alignment
Begin by carefully aligning the body with the frame, ensuring proper fitment. Use the alignment pins on the chassis to guide the body into place. Gently press down to secure the body, making sure it sits evenly. If necessary, use a small amount of plastic cement to reinforce the connection. Avoid forcing parts together, as this may cause damage. Once aligned, allow the glue to dry completely before proceeding. Refer to the manual for specific part numbers and diagrams to ensure accuracy. Proper alignment is crucial for a seamless build and a professional finish. Inspect the assembly before moving on to the next step.
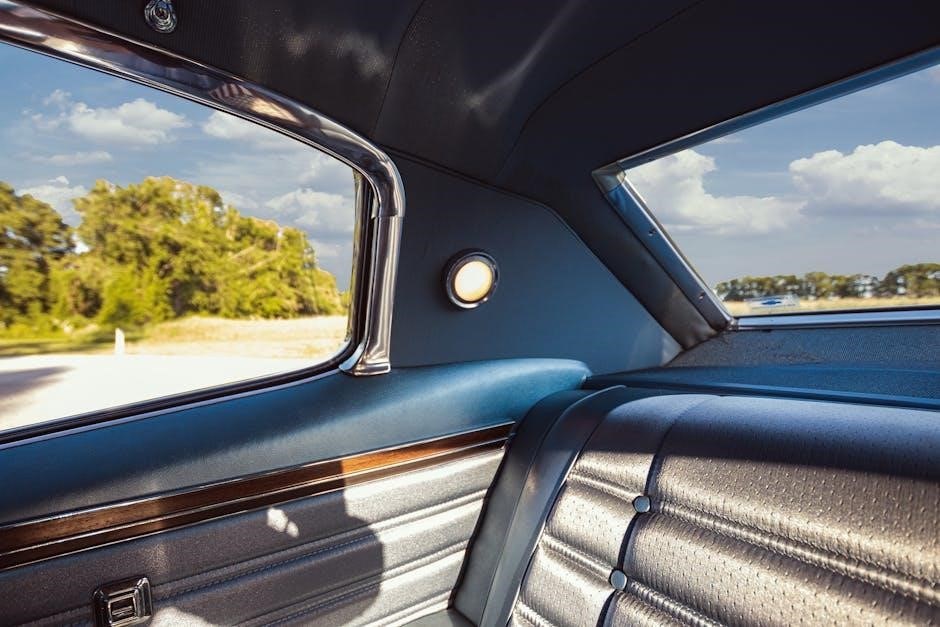
4.4 Interior and Dashboard Assembly
Start by assembling the dashboard, attaching the steering wheel and instrument cluster. Next, install the seats, ensuring they align properly with the floor pan. Secure the seats using the provided clips or adhesive. Add the gearshift, pedals, and other small details, referencing the manual for correct placement. Once the interior components are in place, carefully attach the dashboard to the body, ensuring a flush fit. Use a small amount of plastic cement if necessary. Finally, add any additional details like door panels or a center console. Allow all adhesives to dry completely before moving on to the next step. This step requires patience and attention to detail for a realistic finish.
4.5 Wheels and Tire Installation
Begin by carefully removing the wheels and tires from the sprue. Lightly sand the contact points to ensure a smooth fit. Attach the axle pins to the chassis, aligning them with the suspension components. Next, slide the wheels onto the axle pins, securing them with the provided clips or glue. Ensure the wheels are evenly spaced and properly seated. For added realism, install hubcaps or center caps if included in the kit. Double-check the alignment and make sure the tires are firmly attached. Allow the adhesive to dry completely before handling the model. This step completes the rolling chassis assembly, readying it for final detailing. Precision is key for a authentic look.
4.6 Final Assembly and Quality Check
Once all major components are assembled, carefully align and attach the body to the chassis. Ensure all parts fit securely and evenly. Conduct a thorough inspection to verify proper alignment and functionality of moving parts, such as doors and wheels. Check for any glue residue or paint overspray and address these issues promptly. Use a soft cloth to wipe away dust or fingerprints. Compare your model to reference images or box art to ensure accuracy. Finally, apply a clear coat to protect the paint and enhance the finish. Allow all components to dry completely before handling the model extensively. This step ensures a professional-quality finish and completes the assembly process.
Painting and Detailing
Painting and detailing elevate your Chevelle SS model, transforming it into a stunning replica. This section guides you through color selection, application, and finishing touches for a professional look.
5.1 Choosing the Right Paint and Materials
Selecting the correct paint and materials is crucial for achieving a realistic and durable finish. Use acrylic or enamel paints specifically designed for plastic models. Ensure the colors match the era and style of the 1966 Chevelle SS. Always use a primer to prepare surfaces and promote paint adhesion. Invest in high-quality brushes or an airbrush for smooth application. Additional materials like sandpaper and polishing compounds will help refine details. Consider clear coats for protection and gloss. Reference images of the original car to ensure color accuracy and finish. Proper materials ensure a professional-looking model that captures the essence of the classic Chevelle SS.
5.2 Painting Techniques for a Realistic Finish
Achieve a realistic finish by using layering and blending techniques. Start with a base coat, then gradually build up colors for depth. Use thin paint layers to prevent drips and ensure smooth coverage. Apply wet sanding between coats for a polished look. For metallic finishes, consider metallic powders or alclad paints. To mimic wear, use weathering techniques like fading or edge chipping. Always work in a well-ventilated area and use a reference image for accuracy. Allow each layer to dry completely before moving to the next. A steady hand and patience will yield professional-looking results that capture the classic appeal of the Chevelle SS.
5.3 Adding Decals and Stickers
Adding decals and stickers is a crucial step for achieving an authentic look. Start by carefully cleaning the model surface with a mild detergent to ensure proper adhesion. Use a decal setting solution to soften the decals, making them easier to apply. Align each decal precisely, using a straightedge or reference image for accuracy. Avoid air bubbles by gently smoothing the decal with a soft brush or credit card. For intricate designs, cut decals into smaller sections and apply one at a time. Allow decals to dry completely before handling the model. Common mistakes include misalignment or stretching, which can be fixed with touch-up paint. Sealing with a clear coat protects the decals and ensures longevity.
5.4 Weathering and Aging Effects
Weathering and aging effects add realism to your Chevrolet Chevelle SS 1966 model. Use washes or powder to create dirt, rust, and wear on the chassis, wheels, and body. Apply subtle scratches with a fine brush to mimic years of use. For a vintage look, lightly sand high-wear areas like door handles or bumpers. To enhance depth, use shading techniques on panel lines and recesses. Avoid over-weathering, as it can detract from the model’s appeal. Instead, aim for a balanced, natural appearance. Blending effects gently ensures a convincing aged finish. These details bring your model closer to resembling a classic, well-loved vehicle.

Customization Options
Explore various customization options to make your Chevrolet Chevelle SS 1966 model unique. Personalize the engine, interior, and exterior with custom paint jobs and accessories for a standout look.
6.1 Modifying the Engine and Chassis
Enhance your Chevrolet Chevelle SS 1966 model by modifying the engine and chassis for a personalized touch; Upgrade the engine with aftermarket parts, such as a high-performance engine block or custom exhaust system. Adjust the chassis to improve stability or achieve a lower stance for a sleek appearance. Consider adding detail parts like chromed components or realistic wiring. Ensure all modifications align with the model’s scale and accuracy. Reference the original Chevelle SS specifications to maintain authenticity. These tweaks will make your model unique while preserving its classic charm.
6.2 Upgrading the Interior and Exterior
Elevate your Chevrolet Chevelle SS 1966 model by upgrading the interior and exterior for a more personalized and eye-catching finish. For the interior, consider adding custom upholstery, detailed dashboard components, or realistic seatbelts. Enhance the exterior with chrome accents, unique paint jobs, or aftermarket rims. Use reference images to ensure accuracy and maintain the model’s authenticity. These upgrades allow you to add a personal touch while preserving the classic appeal of the Chevelle SS. Experiment with creative ideas to make your model truly one-of-a-kind.
6.3 Adding Custom Paint Jobs and Designs
Personalize your Chevrolet Chevelle SS 1966 model with unique paint jobs and creative designs. Start by selecting a base color that matches your vision, then add accent stripes or custom patterns for a distinctive look. Use reference images of real cars or concept designs for inspiration. Apply decals or stencils to add logos, numbers, or artwork. For a realistic finish, layer clear coats and ensure proper paint adhesion. Experiment with metallic or pearl finishes for a modern twist. Remember to follow safety guidelines when working with paint and chemicals. Let your creativity shine and make your model truly unique!

Tips and Tricks for Beginners
Start with patience and follow instructions step-by-step. Use reference images for accuracy. Begin with small parts to build confidence. Work in a well-lit, clean workspace. Handle small components carefully to avoid loss. Follow proper glue application to prevent mess. Practice painting on scrap parts first. Stay organized with labeled containers. Don’t rush—enjoy the process and learn as you go!
7.1 Common Mistakes to Avoid
When building the Chevrolet Chevelle SS 1966 AMT model, avoid rushing through steps, as this can lead to misaligned parts. Neglecting to follow the instruction manual carefully often results in errors. Applying too much glue can damage small components, while too little may cause loose joints. Forgetting to sand rough edges can leave the model looking unfinished. Ignoring the recommended paint drying times may cause smudging or peeling. Failing to test-fit parts before gluing can lead to permanent assembly issues. Lastly, forcing parts together instead of aligning them properly can break delicate pieces. Patience and attention to detail are key to a flawless build.
7.2 Time Management and Patience
Building the Chevrolet Chevelle SS 1966 AMT model requires careful time management and patience. Rushing through steps can lead to errors and a less-than-desirable finish. Allocate sufficient time for each stage, from assembly to painting, ensuring proper drying times for glue and paint. Set realistic goals for completion, breaking the project into manageable sessions. Patience is key to achieving a professional-looking model. Avoid skipping steps or rushing through intricate details, as this can compromise the final result. By dedicating the necessary time and effort, you’ll enjoy a rewarding and satisfying modeling experience with a beautifully crafted Chevelle SS.
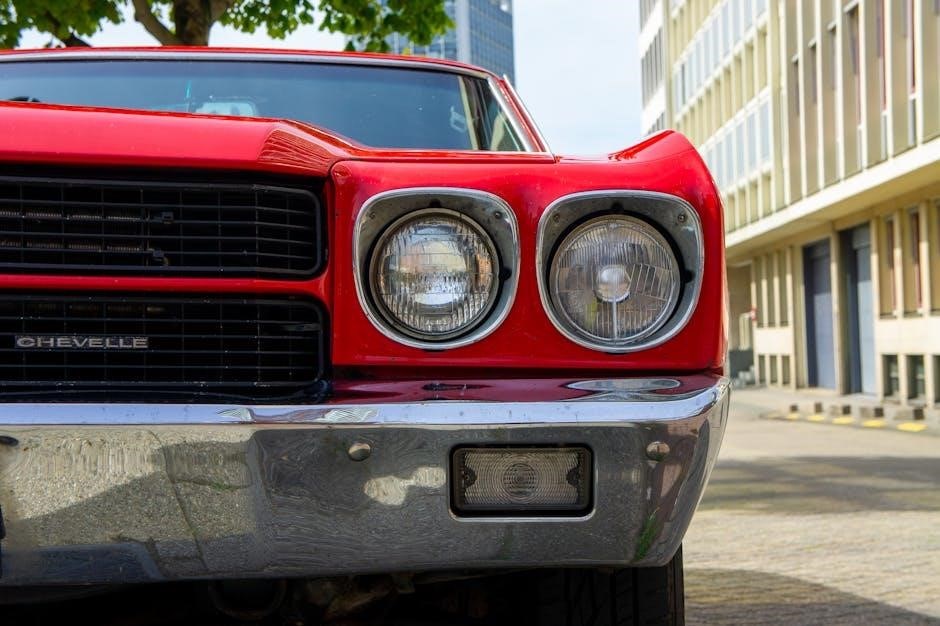
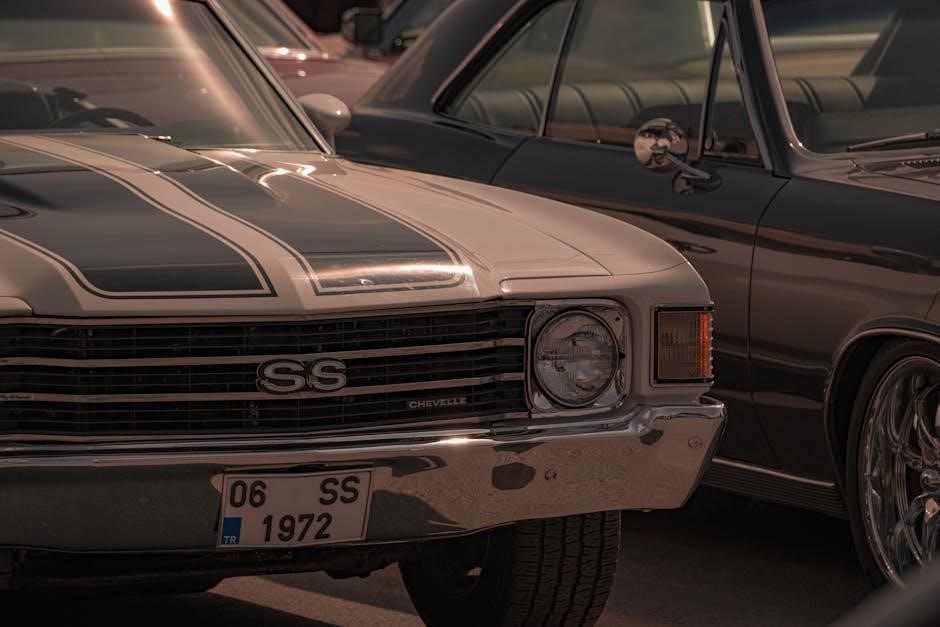
7.3 Using Reference Images for Accuracy
Reference images are invaluable for achieving accuracy when building the Chevrolet Chevelle SS 1966 AMT model. Use high-quality photos of the actual car to verify details like chrome trim, wheel design, and paint schemes. This ensures your model closely resembles the real vehicle. Compare your progress with reference images to catch potential errors early. Look for images from multiple angles to understand complex features. Additionally, consult the AMT model kit instructions for specific part placements. For added precision, use side-by-side comparisons while assembling. This practice helps beginners maintain authenticity and produces a more professional-looking model. It’s a simple yet effective way to enhance your building experience.
Troubleshooting Common Issues
Identify and resolve common assembly issues by consulting the manual or online guides. Check part alignment, paint application, and glue usage. Proper techniques ensure a flawless model build.
8.1 Dealing with Misaligned Parts
Misaligned parts can hinder the assembly process. To address this, carefully re-examine the instruction manual for proper alignment guides. Use clamps or tweezers to gently adjust pieces without forcing them, as this may cause damage. If glue has already been applied, allow it to set before attempting corrections. For severe misalignment, disassemble the affected area and restart the process. Always refer to reference images for accuracy. Patience and precision are key to achieving a professional finish. Regularly double-checking your work can prevent such issues and ensure a seamless build experience for your Chevrolet Chevelle SS 1966 AMT model.
8.2 Fixing Paint Errors and Scratches
Paint errors and scratches can be frustrating but are easily fixable. For minor scratches, use a fine sanding tool to smooth the area. Apply touch-up paint with a small brush, blending it carefully with the surrounding finish. If the error is more significant, lightly sand the entire affected section and repaint it following the original instructions. Allow ample drying time between coats to avoid further damage. To prevent scratches, handle the model by the frame or chassis, and use a soft cloth for cleaning. Regularly inspect your work to catch and fix issues early. Patience and careful touch-ups will ensure a flawless finish for your Chevrolet Chevelle SS 1966 AMT model.
8.3 Solving Glue and Adhesive Problems
Glue and adhesive issues can hinder your progress, but they are manageable. If excess glue causes parts to stick together, gently pry them apart using a plastic scraper or fine knife. Avoid force to prevent breaking. For weak bonds, apply a small amount of glue to the affected area and hold the parts firmly in place until they set. If glue seeps out, wipe it immediately with a damp cloth. For stubborn adhesion, lightly sand the surfaces before reapplying glue. Always use the recommended adhesive for plastics to ensure proper bonding. Patience and careful application will help you achieve a strong, lasting hold.
Completing the Chevrolet Chevelle SS 1966 AMT model is a rewarding experience. This project combines precision, creativity, and patience, resulting in a stunning replica of a classic car. With careful attention to detail and adherence to the guide, you’ve successfully brought this iconic vehicle to life. Take pride in your accomplishment and enjoy displaying your finished model. This journey not only enhances your modeling skills but also deepens your appreciation for automotive history. Congratulations on a job well done!
9.1 Final Thoughts on the Assembly Process
Completing the Chevrolet Chevelle SS 1966 AMT model is a deeply satisfying experience. The assembly process challenges your patience and attention to detail while fostering a sense of accomplishment. Each step, from unboxing to final touches, transforms individual parts into a cohesive, stunning replica. The journey teaches valuable skills in precision and problem-solving. Take pride in your work, as it reflects dedication and craftsmanship. This model is not just a hobby project but a testament to your passion for automotive history. The finished piece is a beautiful tribute to the iconic Chevelle SS, ready to be admired and cherished.
9.2 The Joy of Building a Classic Model
Building the Chevrolet Chevelle SS 1966 AMT model offers a unique blend of creativity and nostalgia. It allows you to connect with automotive history while crafting a scale masterpiece. The process fosters a sense of pride and accomplishment, as each detail brings the model to life. For enthusiasts, it’s more than a hobby—it’s a way to celebrate a legendary car. The journey of assembly teaches patience, precision, and the value of meticulous work. Whether you’re a seasoned builder or a newcomer, the satisfaction of creating something with your own hands is deeply rewarding. This model is a timeless tribute to classic American muscle.
9.3 Encouragement for Future Projects
Completing the Chevrolet Chevelle SS 1966 AMT model is a significant achievement, and it’s just the beginning of your modeling journey. The skills you’ve honed, such as patience, attention to detail, and problem-solving, are invaluable for tackling more complex projects. Don’t hesitate to explore other classic or modern models—each one offers a unique challenge and opportunity for growth. Whether you pursue another vintage muscle car or venture into different scales, remember that modeling is a hobby that rewards creativity and dedication. Keep experimenting, learning, and most importantly, enjoying the process. Your next project is waiting, and the possibilities are endless!

Additional Resources
Explore recommended tools, online forums, and video tutorials to enhance your modeling experience. These resources provide expert tips and community support for your future projects.
10.1 Recommended Tools and Supplies
For a smooth assembly experience, gather essential tools like a hobby knife, sanding tools, and paintbrushes. Use plastic cement and clamps for secure bonding. Acrylic or enamel paints are ideal for detailing. Invest in a cutting mat and files for precise trimming. Optional tools include an airbrush for a professional finish and tweezers for small parts. Always refer to the instruction manual for specific requirements. Keep reference images handy for accuracy. Ensure all materials are stored in a clean, dry workspace to maintain quality and safety throughout the project.
10.2 Online Communities and Forums
Engage with online communities and forums dedicated to model building and automotive enthusiasts. Websites like Model Car Forums and HobbyTalk offer valuable resources, tips, and troubleshooting advice. Join Facebook groups or Reddit communities focused on scale modeling to connect with fellow builders. These platforms are great for sharing progress, learning from experts, and gaining inspiration. Many forums also host contests and challenges to showcase your finished Chevelle SS model. Participating in these communities can enhance your modeling experience and help you refine your skills. Don’t hesitate to ask questions or seek advice from experienced modelers.
10.3 Video Tutorials and Guides
Video tutorials and guides are invaluable resources for building the Chevrolet Chevelle SS 1966 AMT model. Platforms like YouTube and Vimeo host a wide range of step-by-step videos. These tutorials often cover specific techniques, such as painting, assembly, and detailing. Many modelers share their expertise, offering tips for achieving a professional finish. Additionally, official AMT videos provide insights into the model’s design and construction. Watching these guides can help you overcome challenges and improve your modeling skills. They are particularly useful for visual learners who prefer real-time demonstrations. Explore these resources to enhance your building experience and ensure a flawless assembly of your Chevelle SS model.